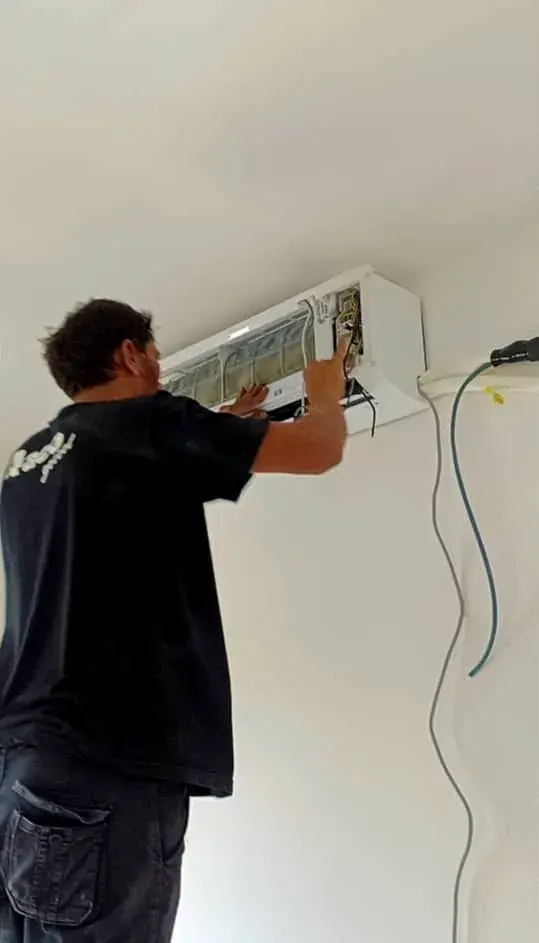
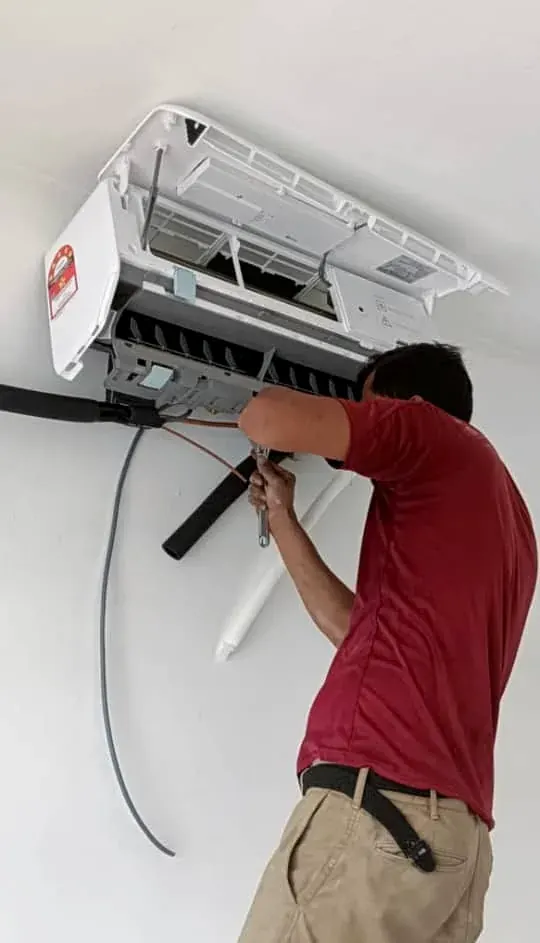
Homeowner's Pre-Installation Checklist — 15 Things to Prepare Before Your Aircond Arrives
Prepare for a smooth aircond installation with this 15-point checklist. From choosing the right position to clearing the work area — everything you need to do before the technician arrives.
15 Things to Prepare Before Your Aircond Installation
A well-prepared installation goes faster, cleaner, and with better results. Our installation specialists have compiled this checklist from 500+ installations — tick off each item before your technician arrives for the smoothest experience possible.
Before Booking (Planning Phase)
✅ 1. Choose the Right HP for Each Room
Measure your rooms (length × width) and use our free BTU Calculator or HP sizing guide to determine the correct capacity. Wrong HP = poor cooling or wasted electricity.
✅ 2. Decide Indoor Unit Positions
For each room, choose where the indoor unit will go. Best positions are:
- Above the bed headboard (bedrooms) — cool air flows over you while sleeping
- Opposite the main seating area (living rooms) — even distribution
- Away from direct sunlight and heat sources
- On a wall with easy access to the outdoor unit position
✅ 3. Choose the Outdoor Unit Position
The outdoor unit needs: shade (or sun shield), 30cm+ clearance all around, accessible for maintenance, away from bedroom windows (yours and neighbours'). See our outdoor placement guide.
✅ 4. Check Your Electrical Capacity
Open your DB box and check: are there spare MCB slots? Is the main supply adequate? For 2.0 HP+ units, you'll need a dedicated circuit. See our old wiring guide if your home is pre-2005.
✅ 5. Plan Pipe Routing
Think about how the copper pipes will run from indoor to outdoor unit. Shorter, straighter runs = less extra pipe cost. Our technician will confirm the best route during the site survey.
Day Before Installation
✅ 6. Clear the Work Area
Move furniture, curtains, and fragile items at least 2 meters away from the planned indoor unit position. Our team brings drop sheets, but clearing the area speeds up work and protects your belongings.
✅ 7. Clear Outdoor Unit Access
Remove plants, pots, laundry, and obstacles from the outdoor unit position. Ensure the technician has clear access to the wall/ledge/balcony.
✅ 8. Inform Building Management (Condo)
If you live in a condo, submit the installation application to your JMB/MC office. Most require 3-7 days advance notice. See our condo rules guide.
✅ 9. Book the Service Lift (High-Rise)
For floors above 5, book the service lift for your installation time slot. Some buildings require 2-3 days advance booking.
✅ 10. Confirm Parking for Technician
Arrange visitor parking or inform security about the technician's vehicle. This saves 15-30 minutes of the technician's time (and your installation time).
Installation Day
✅ 11. Be Present for the Site Survey
The first 15-20 minutes involve a walkthrough where the technician assesses positions, pipe routing, and electrical. Your input on preferences is important at this stage.
✅ 12. Approve the Final Quote
After the site survey, the technician will confirm the final price including any extras (additional pipe, bracket, MCB). Approve or discuss before work begins — no surprises.
✅ 13. Keep Children & Pets Away from Work Area
Drilling, pipe cutting, and electrical work create hazards. Keep children and pets in a different room during the 2-3 hour installation.
✅ 14. Test the Unit Before Technician Leaves
Before signing the job card, run the unit and verify:
- Cool air is flowing from the indoor unit
- All fan speeds work (low, medium, high, auto)
- Remote control responds correctly
- No water dripping from indoor unit
- No unusual noises from indoor or outdoor unit
- Outdoor unit fan is running and expelling hot air
✅ 15. Collect Your Job Card & Warranty Details
The job card is your warranty document. It records: unit model, serial number, gas type, pipe length, installation date, and warranty start date. Keep it safe — you'll need it for any warranty claim or future service.
After Installation
- Run the unit for 24 hours to verify stable operation
- Set thermostat to 24°C for optimal comfort and efficiency
- Clean filters every 2-4 weeks
- Book your first professional service in 6 months
- Save our WhatsApp number: +60 18-298 3573 for any future needs
Ready to Book?
Our expert installation team is ready to serve you across KL & Selangor. Same-day available for bookings before 11 AM. From RM 199, transparent pricing, 1-month warranty.
WhatsApp +60 18-298 3573 — tell us your unit type, HP, and area for an instant quote.
Quick answer
KL Renovator's practical answer: Prepare for a smooth aircond installation with this 15-point checklist. From choosing the right position to clearing the work area — everything you need to do before the technician arrives.
Reader FAQs
Can I book same-day service?
Yes, depending on technician route and material needs. The fastest way is WhatsApp +60182983573.
Will the price be confirmed before work starts?
Yes. KL Renovator confirms scope, price and any extra materials first.
Is there a warranty?
Eligible workmanship is covered by a 1-month workmanship warranty.
Reviewed by real technicians
KL Renovator's HVAC Expert Team
This article links back to the same field team that services wall-mounted, ceiling cassette and window units across KL & Selangor. Meet the 4 real technicians behind KL Renovator, see their experience, and review our service standards before you book.